

Personal Timeline Examples: How to Turn Your Life Story into a Visual Timeline
Five adaptable personal timelines show how to connect dates, memories, and meaningful milestones in a visual life story.
Five adaptable personal timelines show how to connect dates, memories, and meaningful milestones in a visual life story.
A personal timeline turns important moments in your life into a sequence people can follow. Choose the events that matter to your story, put them in chronological order, and give each one a date, a short label, and a sentence explaining its significance.
The personal timeline examples below show five ways to do that: a school project, a whole-life overview, a career journey, a family keepsake, and a timeline that connects past experiences with future goals. Start with the example closest to your purpose, then adapt the events and layout to your own life.
A personal timeline is a visual record of events in one person's life. It can cover your whole life, a single chapter, or one theme, such as education, work, travel, or family.
A useful entry answers three questions: When did it happen? What happened? Why does it belong in this story? Photos, illustrations, and short captions can add context, but the dates and sequence should remain easy to read.
You do not need an event for every year. A quiet period can stay quiet; a year that changed your direction can have several entries.
All names and events in these examples are fictional. Use their structure, then replace the details with your own.
For a school assignment, choose events that help classmates understand you. A theme gives the timeline a clear thread, even when the assignment covers several years.
| Year | Milestone | Short caption |
|---|---|---|
| 2012 | Born in Portland | My family lived close to a park where I later spent many afternoons. |
| 2017 | Started school | I enjoyed asking questions about plants and animals. |
| 2019 | Grew my first tomatoes | I kept a notebook to track how much they grew. |
| 2021 | Moved to a new town | Joining the school garden helped me meet friends. |
| 2023 | Entered a science fair | I compared how different amounts of light affected seedlings. |
| 2025 | Joined the ecology club | I began helping with a local stream cleanup. |
| 2026 | Led a garden project | I shared what I had learned with younger students. |
Visual approach: Put the seven milestones along a horizontal line. Use a short title above each date and a small drawing below it. Let the garden project have the largest image because it brings the earlier experiences together.
The story comes from the connection between events: an early interest becomes a hobby, then a project, then something the student shares with others.
A whole-life overview becomes easier to follow when you organize it around a recurring theme. Here, each move marks a new chapter:
Visual approach: Use a vertical timeline with one photo and a caption for each place. Add chapter labels such as “Growing up,” “Finding independence,” and “Choosing a different pace.”
This format suits a personal introduction or memoir outline. The dates give readers orientation, while the captions explain what each chapter meant.
A career timeline can show how skills develop across different roles. Select experiences that explain the transition:
Visual approach: Put dates on the left and milestones on the right. Under each milestone, add a small skill label: “Listening,” “Teaching,” “Design,” or “Research.”
For an interview or portfolio presentation, give more space to the experience that best explains your current direction. Keep the complete employment history in your résumé.
A family timeline can follow an everyday tradition rather than a series of formal achievements. Small details often give the story its character:
Visual approach: Arrange a row of dated photo cards, using a recipe card or table setting as the connecting motif. Keep each caption specific enough to identify the moment.
“About 1993” is useful when the family remembers the period but not the exact year. Keep that uncertainty visible instead of assigning a precise date.
You can connect completed experiences with planned milestones, provided readers can tell them apart:
Visual approach: Use a solid line for the past and a dashed line for the future. Add a visible “Today” marker and keep “Planned” or “Goal” in the future labels, so the distinction does not depend on color.
Use this approach for a learning journey or personal project as well. The future section shows direction; it does not turn an intention into a completed achievement.
Turn your dated notes into a presentation draft with SlidesPilot.
Turn My Notes into SlidesBuild the content before choosing colors or arranging photos. Once the story is clear, the layout decisions become much easier.
Finish this sentence: “I am making this timeline so that ___ can understand ___.”
For example: “I am making this timeline so that my classmates can understand how I became interested in science.” That purpose helps you decide which events belong.
Next, set a beginning and an end. You might cover birth to the present, your years at college, or the period since a major move. For a school project, follow the assignment's required dates and number of events.
Make a rough list using photos, calendars, certificates, journals, or conversations with relatives. Consider first experiences, people who influenced you, places you lived, skills you learned, and decisions that changed your routine.
Include moments you value personally. A weekly library visit or a friendship can matter as much to the story as graduation or a new job.
At this stage, keep extra details in your notes. You can select the strongest entries afterward.
For a first one-page draft, try six to eight events. This is a starting point for editing, not a required count.
Ask what each event adds. Does it introduce a person, explain a change, show progress, or connect two chapters? If several entries make the same point, combine them or choose the most vivid one.
Choose details you are comfortable sharing with the intended audience. A class introduction and a private family record can tell different versions of the same life.
Use this pattern:
Date or age — Milestone title — What changed or why it mattered.
A rough note might say, “2019: moved.” A finished entry could read:
2019 — Moved to Denver: Joining a weekend hiking group helped me feel at home in a new city.
The second version gives the audience something to understand beyond the date. Keep the title short enough to scan and put the explanation in one sentence.
Use years, month-and-year labels, ages, or date ranges consistently. If you mix them, make the reason clear: a whole-life overview can use years, while a short chapter may need months.
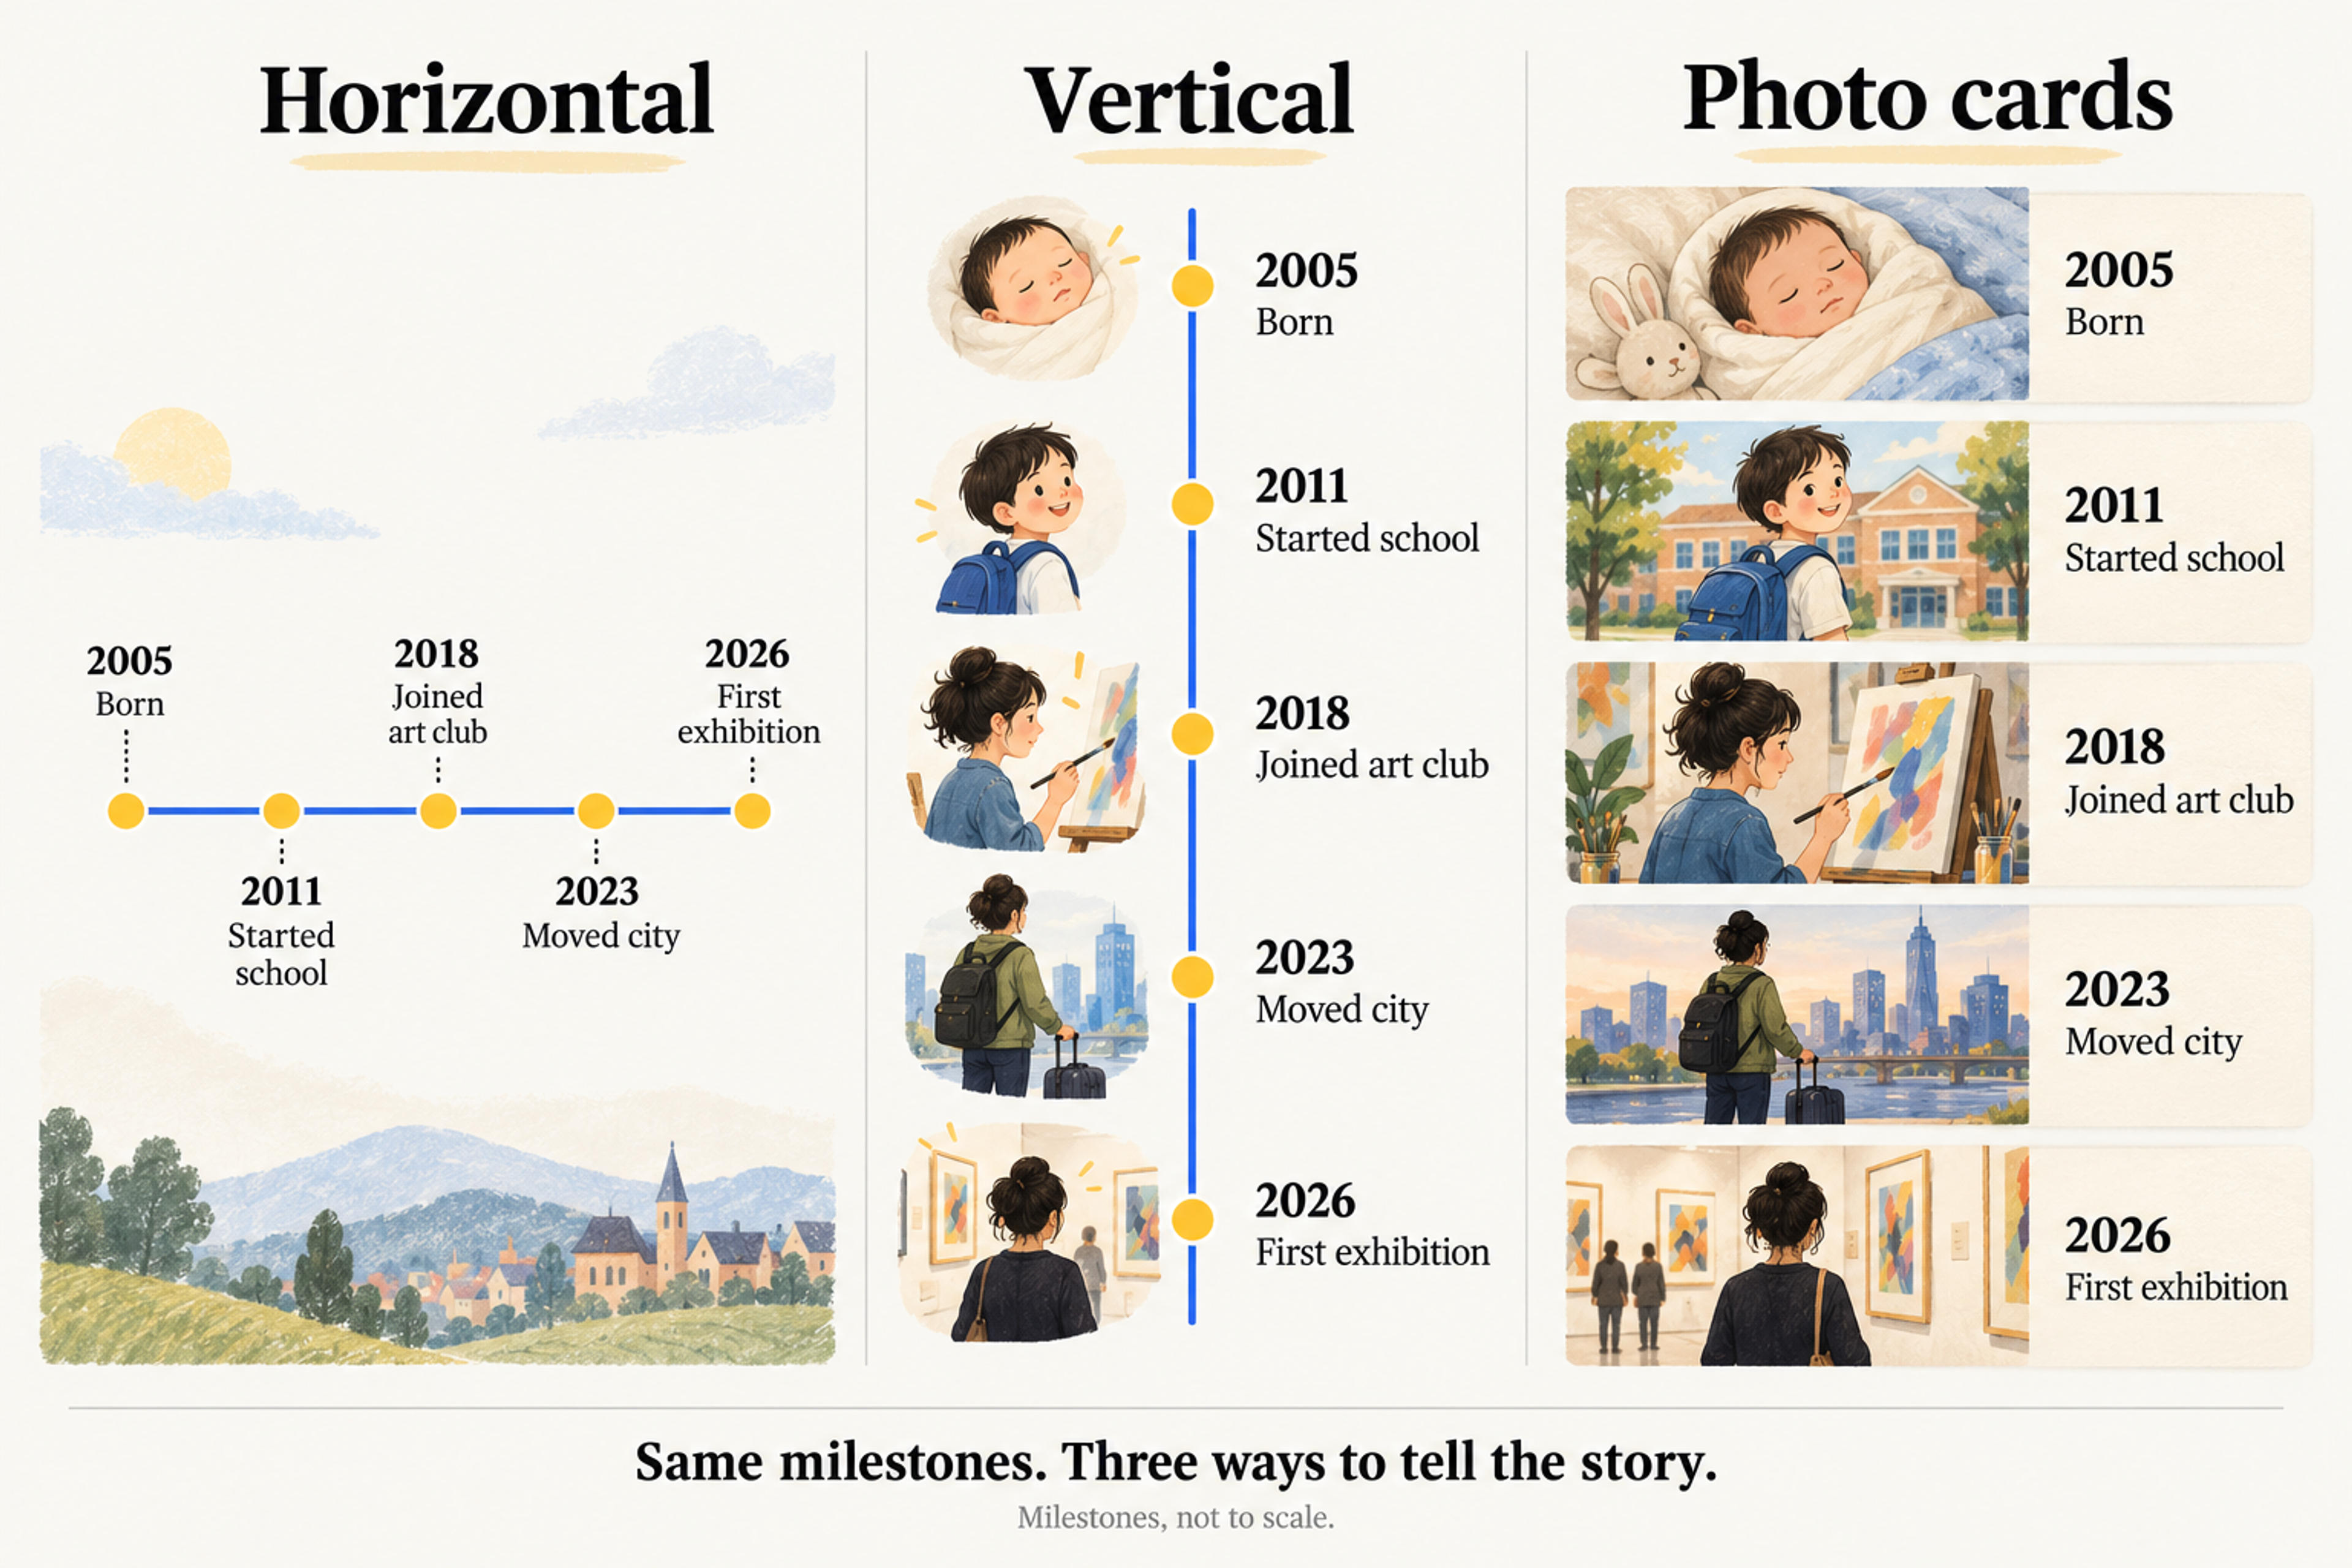
Choose how the visual represents time. On a scaled timeline, equal distances represent equal amounts of time. On an evenly spaced milestone timeline, each event gets the same amount of room regardless of the gap between dates. Label the second format “Milestones, not to scale” when spacing could otherwise confuse readers.
If an assignment requires a scale, use the specified intervals. For an approximate memory, write “around 2010” or “summer 2010” rather than inventing a day.
Choose a photo, object, or illustration because it helps identify the memory. A picture of the first garden is more informative than a generic celebration icon.
Keep dates prominent, use one heading style, and leave enough space between entries for captions to read as separate moments. If everything feels crowded, shorten the captions or move some events to a second page.
Use the table as a working draft before turning the entries into a visual. Duplicate the middle row for each milestone.
| Date or age | Milestone title | What happened and why it mattered | Photo or visual idea |
|---|---|---|---|
| [Year, age, or period] | [A short, specific title] | [One sentence about the event and its significance] | [A photo, object, or simple illustration] |
| [Today] | [Where I am now] | [How the earlier experiences connect to my present] | [A current photo or meaningful object] |
Give the finished timeline a title that signals its theme: “The People Who Helped Me Learn,” “My First Ten Years,” or “How I Found My Career Direction.” A specific title helps you make the final cuts.
Match the format to how someone will experience the story.
| Layout | Choose it for | Design priority |
|---|---|---|
| Horizontal line | A short overview on a wide slide or poster | Brief labels and a clear reading direction |
| Vertical line | A document or page with longer captions | Consistent alignment between dates and entries |
| Photo cards | A family keepsake or celebration | Readable dates beside meaningful pictures |
| Chapter sections | A life story covering several decades | Clear periods with a few milestones in each |
| Overview plus detail slides | A spoken personal presentation | A whole-story view followed by selected moments |
A chapter layout is useful when a single line becomes too dense. For example, “Childhood,” “Learning independence,” and “Building a home” can each contain a small timeline of their own.
For a presentation, show the full sequence first. Then zoom in on the moments you want to discuss. Keep the same date labels and colors across the overview and detail slides so the audience can follow the connection.
Once your milestones are written, you can use SlidesPilot Text to PPT to turn the notes into a presentation draft. The workflow accepts pasted text and lets you specify the audience, length, density, and tone.
Paste your dated entries as the source material, then explain how you want the story presented. Here is a prompt you can adapt:
Create a five-slide personal timeline presentation for a class introduction using the milestones below. Start with an overview, then show three chapters, and finish with where I am today. Keep events in chronological order. Use short captions and clearly visible dates. Use only the supplied personal facts. Label the overview “Milestones, not to scale.”
Add your milestone list below the prompt. After generation, refine the wording and layouts, choose personal photos for the relevant moments, and keep date labels consistent. SlidesPilot supports export to PowerPoint, Google Slides, PDF, or PNG.
Include events that explain the story you want to tell: important people, moves, learning experiences, family traditions, achievements, or changes in direction. Give each entry a date or period, a clear title, and a brief explanation of its significance.
Start with six to eight for a one-page draft, then adjust for the space and purpose. A classroom assignment may specify a number. A family history can include many more events by grouping them into chapters or separate pages.
Yes. Use an age, a school year, a season, a date range, or an approximate label such as “about 2008.” Choose the level of precision you can support and keep approximate dates visibly approximate.
Only if your assignment or purpose calls for it. You can begin with the start of a friendship, a move, a course, or any other event that opens the chapter you want to show.
A personal timeline gives readers a visual overview of selected events in time order. An autobiography develops a life story through extended prose, scenes, and reflection. You can use a timeline to plan the chapters of a longer account.
The strongest personal timeline examples connect dates with meaning. Choose a purpose, select the moments that support it, and explain what each one changed. Then use a layout that lets the audience follow the sequence without searching through paragraphs.
Start with the template above and write your first six milestones. When the sequence is ready, turn those notes into a visual presentation with SlidesPilot.
Paste your milestones into SlidesPilot and create a presentation you can refine and share.